My plan was to showcase a few of my new Christmas ideas today, but (and that is a BIG but (hahaha)) that didn't happen.
Have you ever had an idea for a fabulous project, one that seemed so perfect in your mind, but as you were starting and even close to finishing, it became more of a disaster.
Yes?
Well that was my project--I need to do some revamping and I hopefully will have it up this weekend.
Here is a final tutorial that I did last year that for a Handmade Christmas Ornament Party
And don't forget to link up your favorite Christmas posts today!
**************************************************************
I get totally psyched for Black Friday and I have this weird obsession with clearance racks.
I get giddy over making things for little to no cost and I just love finding things that are so cheap that I feel as though I am ripping off the store.
These ornaments totally fall under the cheap, easy, and "oh so pretty" categories!
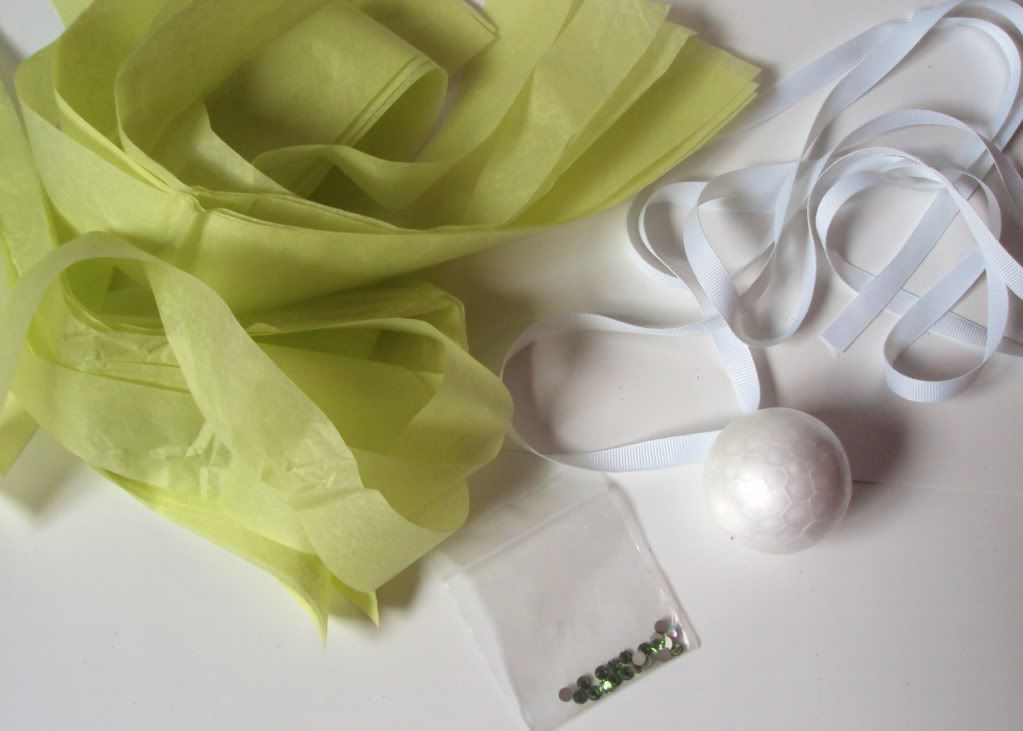
For this project you will want:
*Styrofoam balls
*ribbon
*tissue paper (cut into 1 1/2 inch strips)
*embellishments
*glue gun
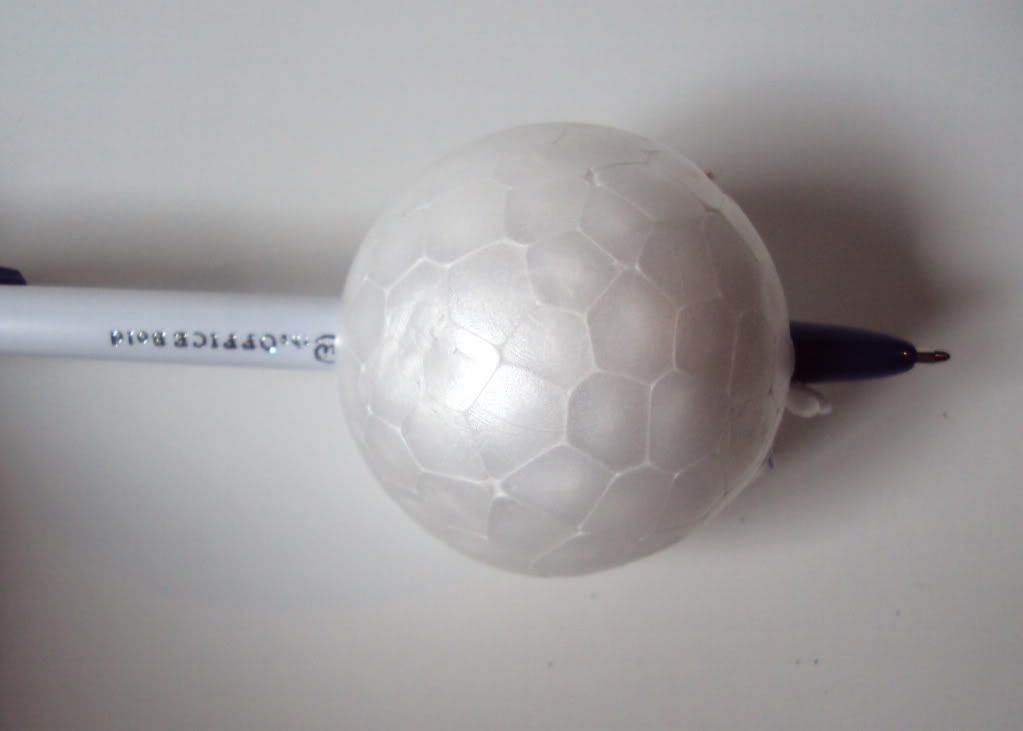
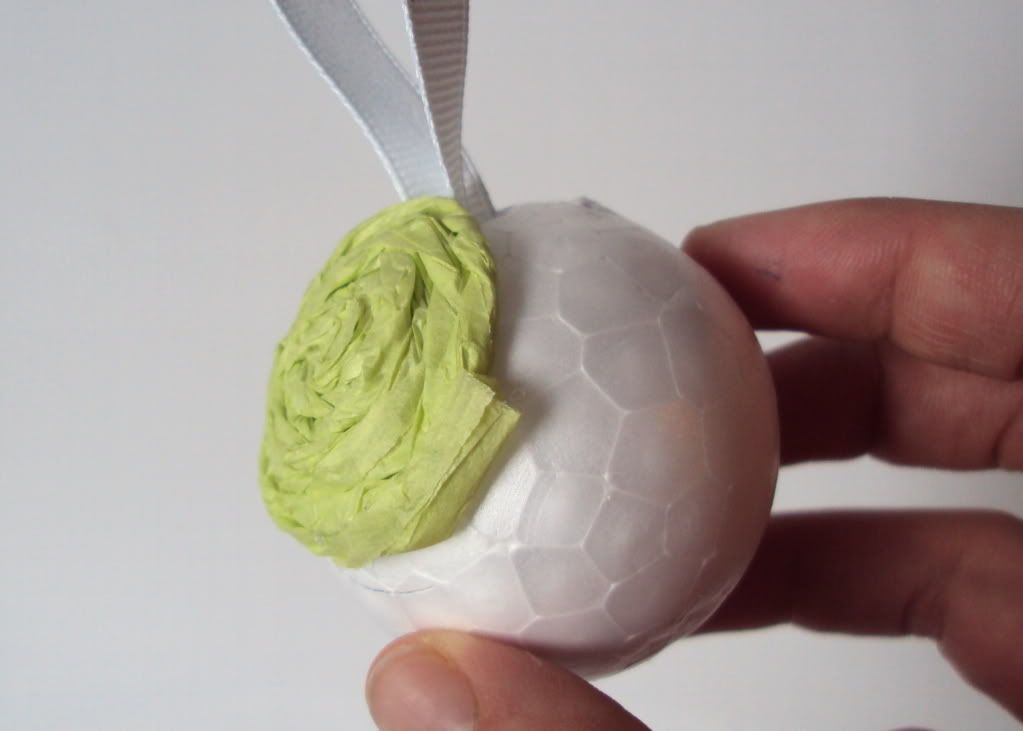
I used a pen to poke a hole through the stryrofoam ball for the ribbon.
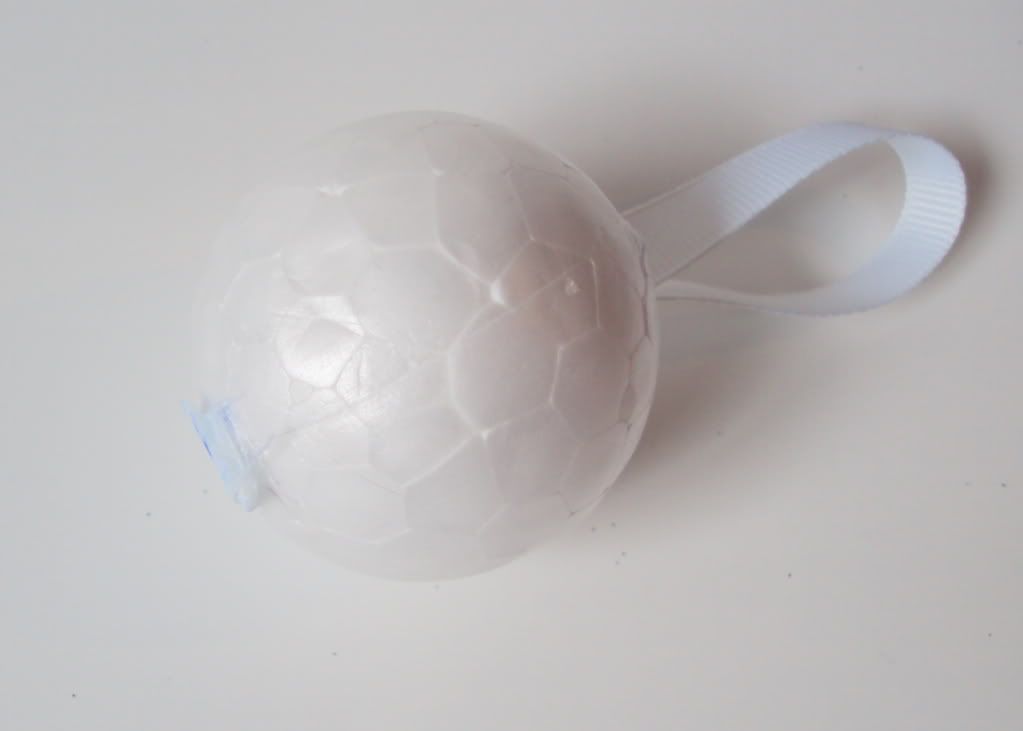
I then used the pen to push the ribbon through the hole. NOTE: Make sure to glue the ribbon to the underside of the ball.
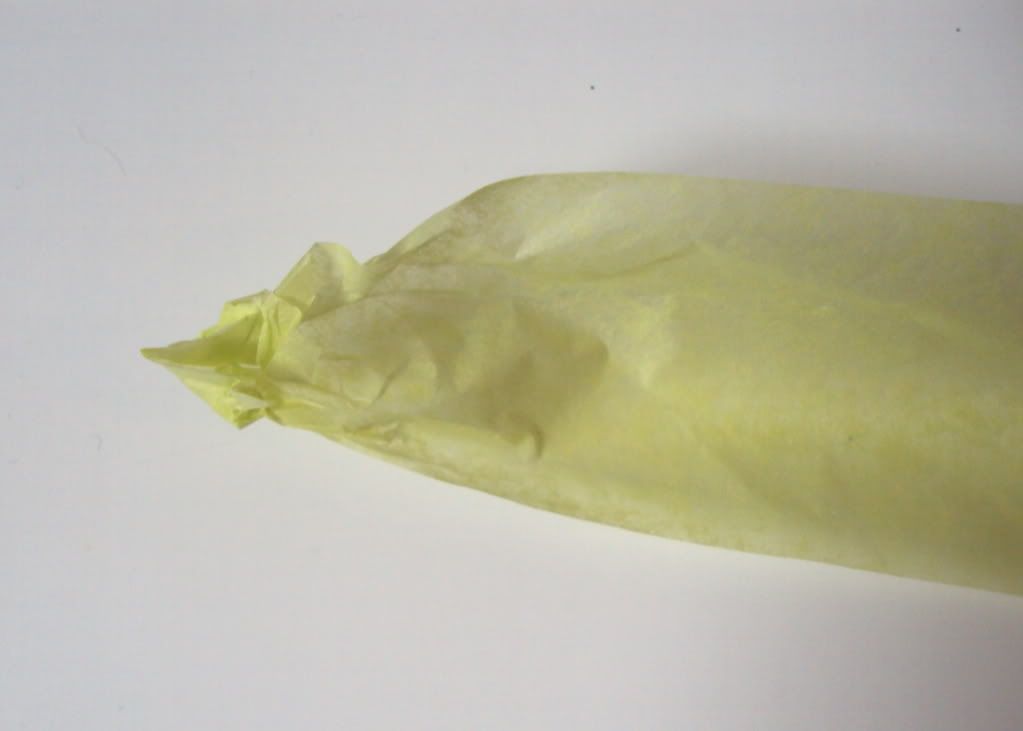
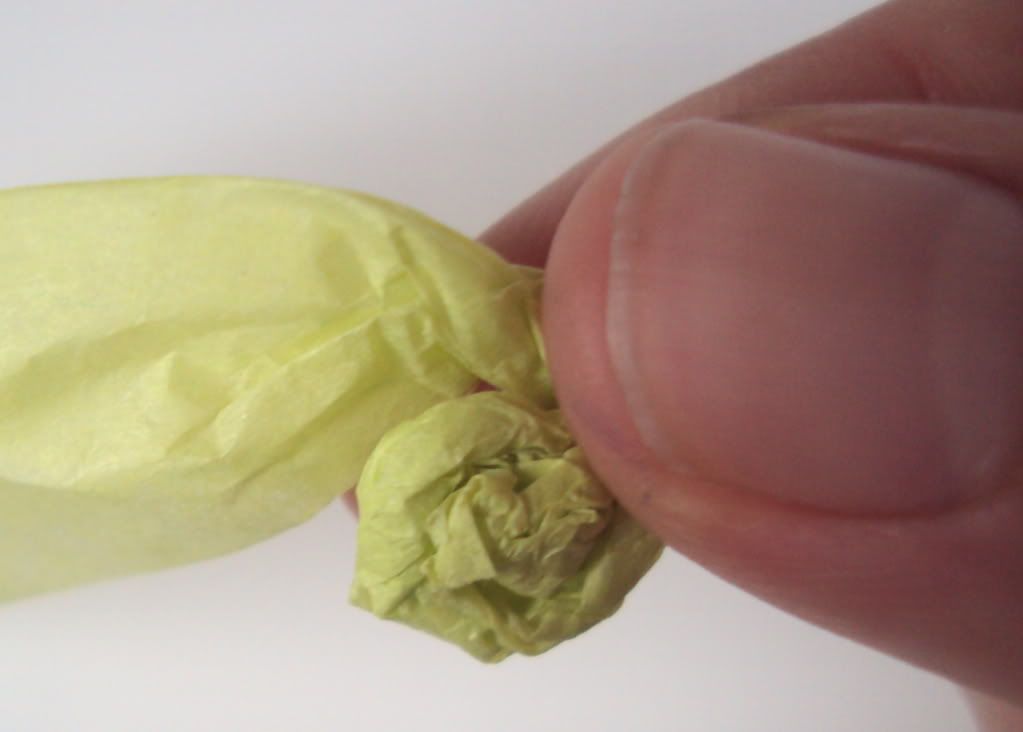
While the glue dried I started to make the tissue paper rosettes.I took one of the strips of tissue paper and crumpled the end.
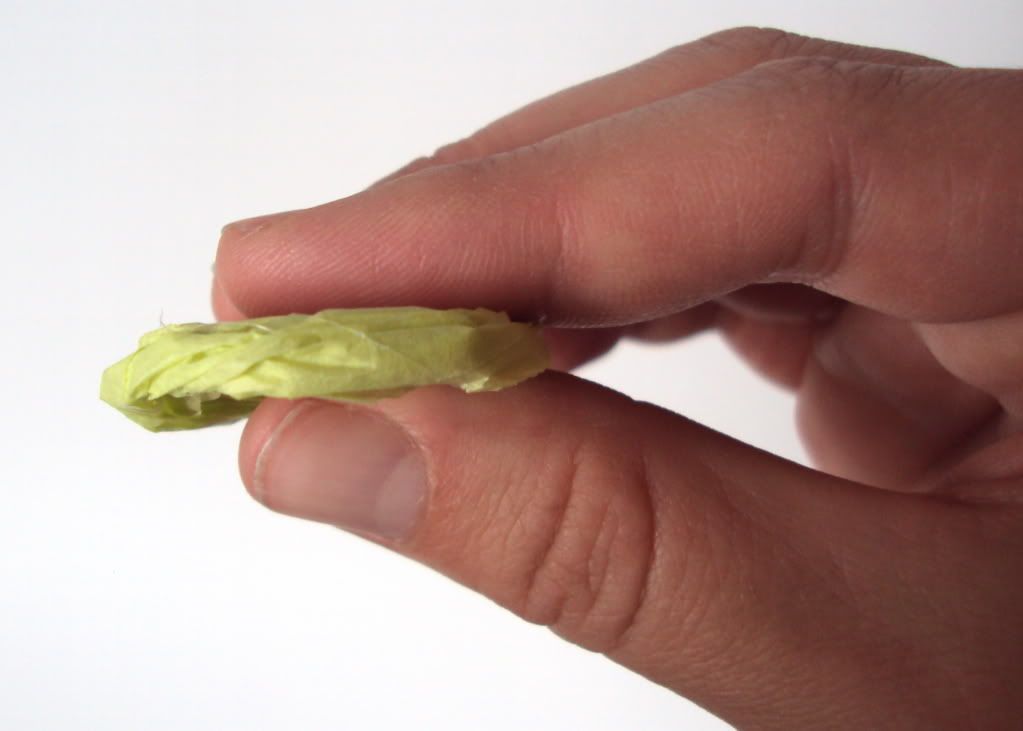
Then I began to twist the tissue paper around the crumpled center. Every so often I made sure to put a dab of hot glue on the rosette so it did not fall a part. As I wound the tissue paper around I would switch between twisting inward and twisting outward. It helped give a different kind of effect to the rosettes.
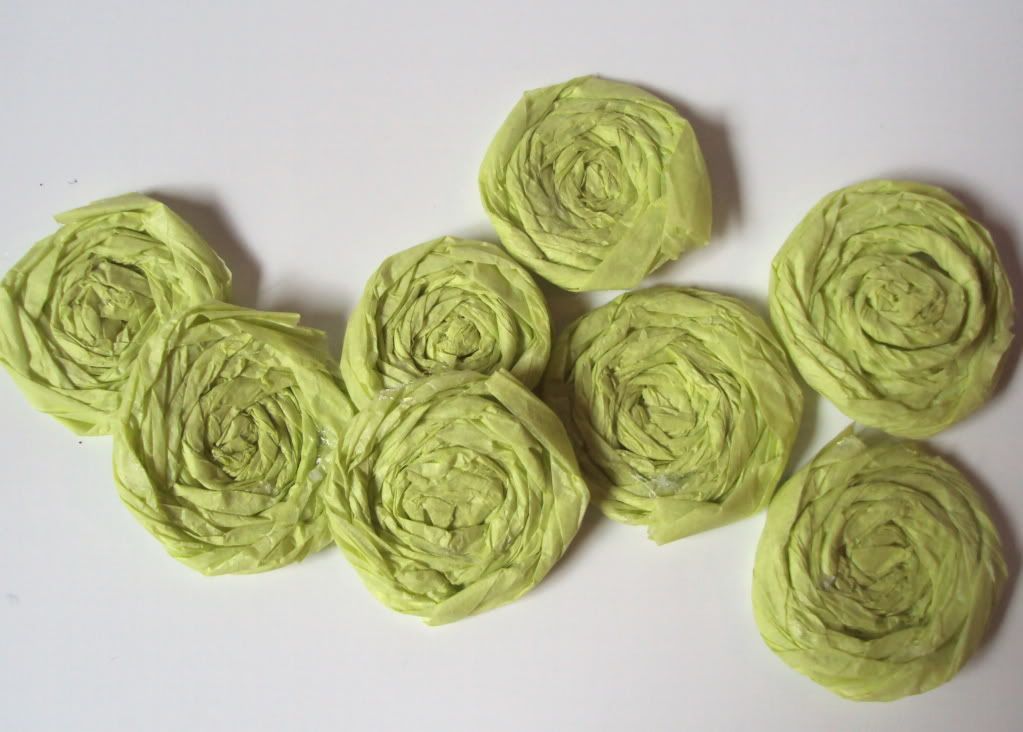
Here is what the rosette looked like when I finished.
For a small ball I made twelve rosettes--you may use more or less depending on how big or small you make YOURS ;)
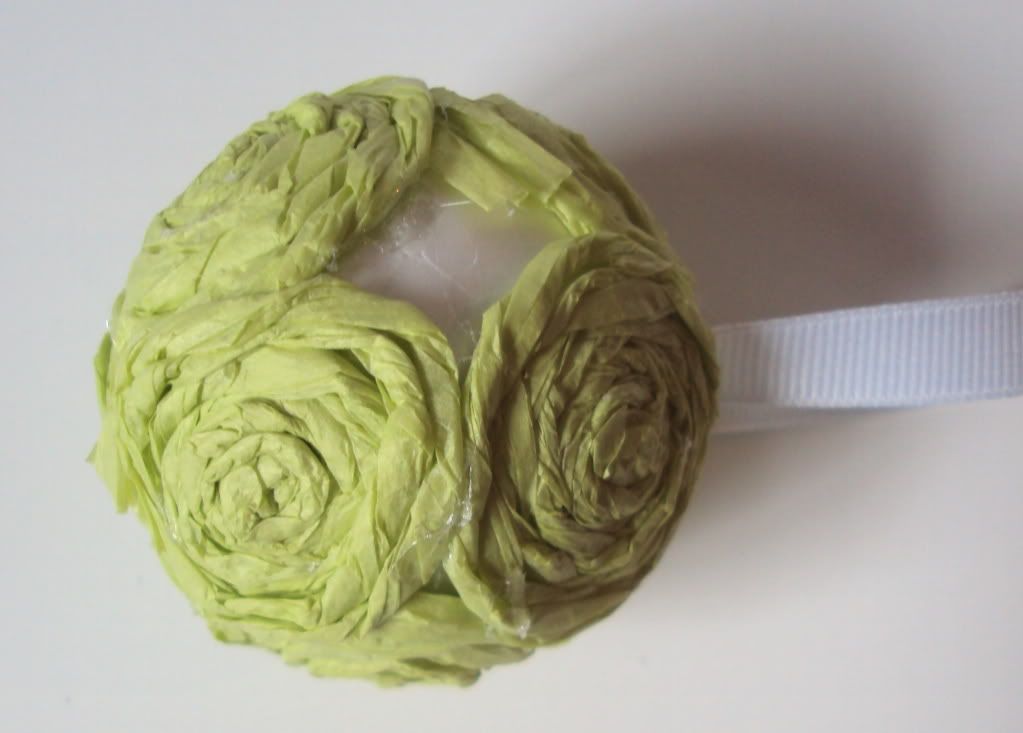
I then took the dried rosettes and started to glue them to the ball. NOTE: You will want to start at the top and work your way down.
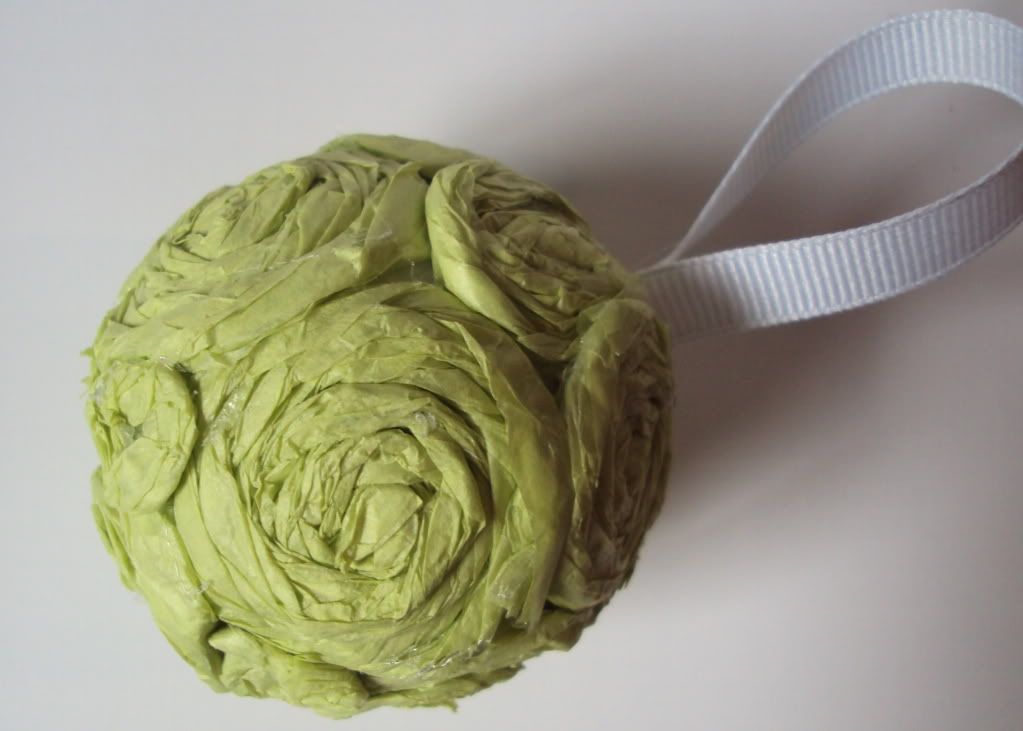
There were gaps in between some of the rosettes so I took scraps of the tissue paper and stuffed them in the open areas.
Cool. Huh?
BUT WAIT...I am not going to sell you a Sham-WOW!!! Jokes.
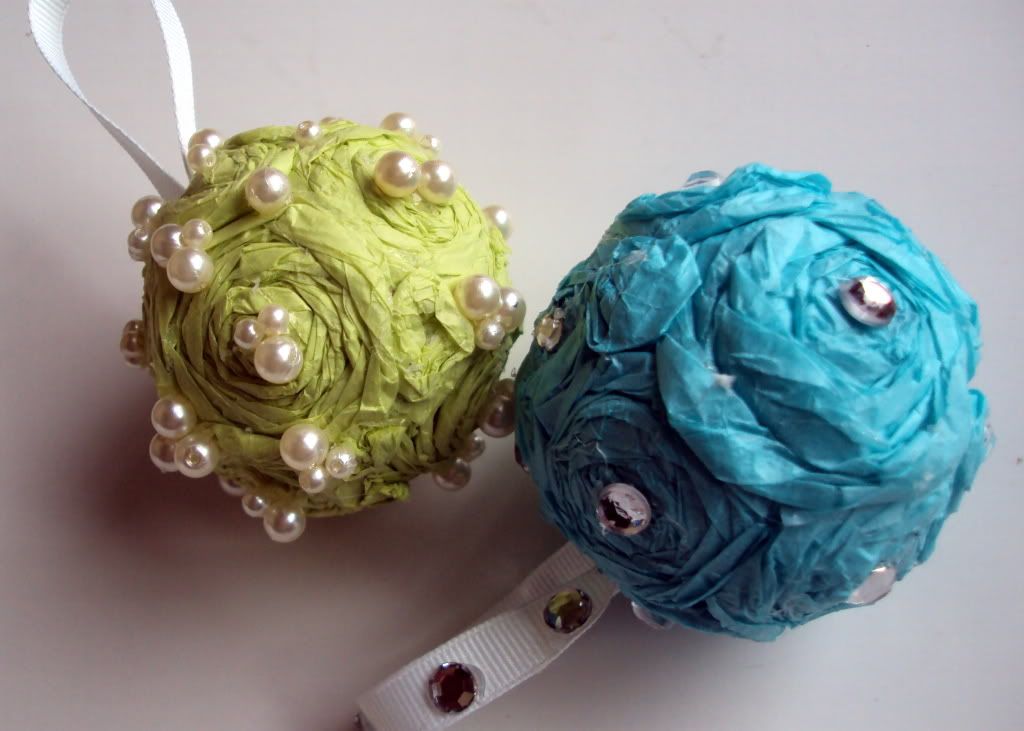
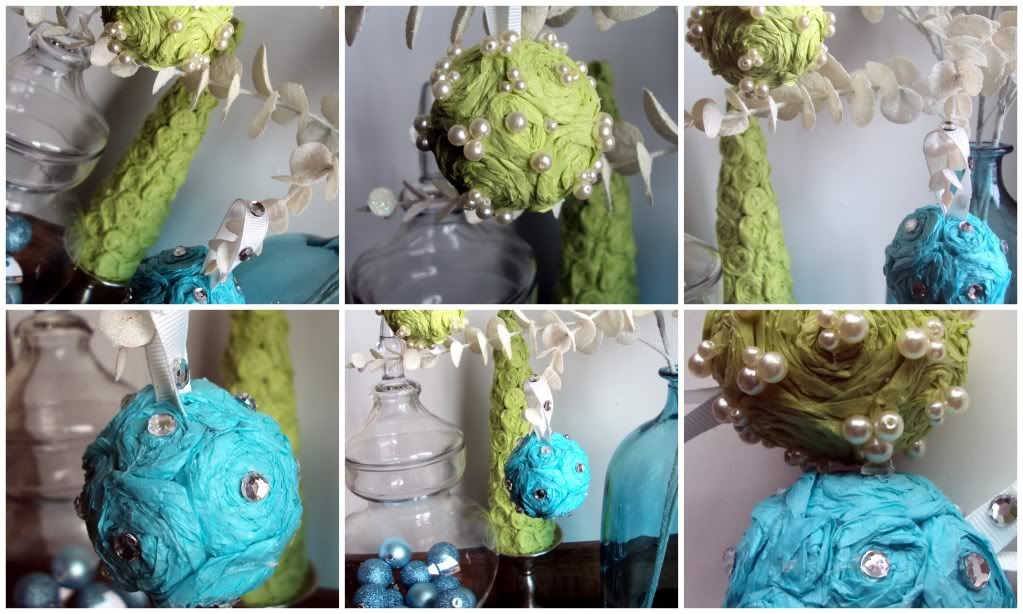
I love shiny things...yes, I am a typical girl. So I decided to spice up my ornaments!
I used a variety of embellishments, any type will work: buttons, brads, pearls, faux gems.
Finished product:
Tissue paper: FREE
Styrofoam balls: S1.00
embellisments: FREE


Those ornaments are adorable!
ReplyDeleteThese are too stinkin' cute Halsey!
ReplyDeleteUgh - dunno know what I did, but somehow I managed to link the same thing three times. Feel free to delete them. Sorry!
ReplyDeleteJust love your blog! I'm your newest follower! :) What fabulous tissue paper christmas ideas you have! :)
ReplyDelete