So let's get started! I love cheap deals and amazing IDEAS. That's kind of why I love this time I year. I get totally psyched for Black Friday and I have this weird obsession with clearance racks. I get giddy over making things for little to no cost and I just love finding things that are so cheap that I feel as though I am ripping off the store.
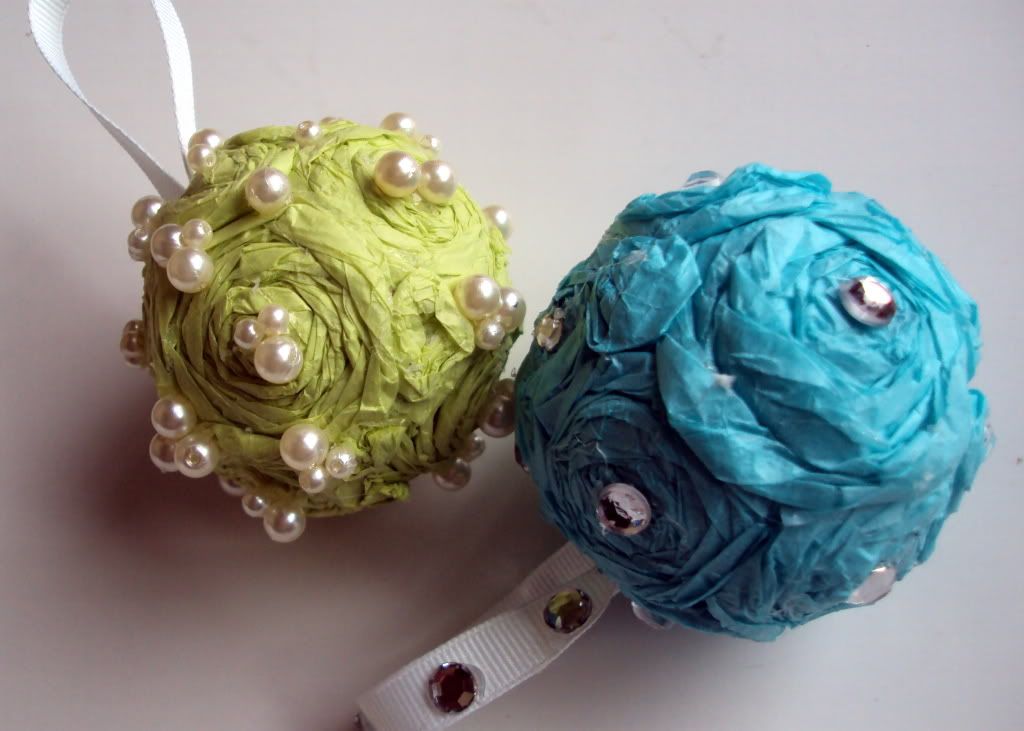
These ornaments totally fall under the cheap, easy, and "oh so pretty" categories!
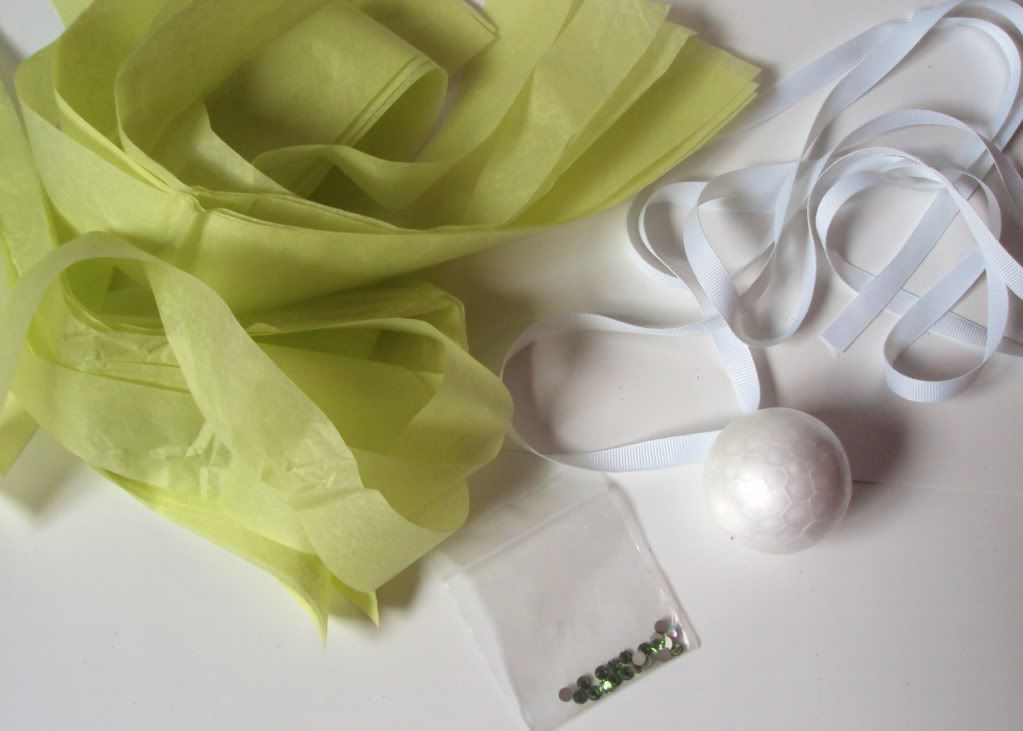
For this project you will want:
*Styrofoam balls
*ribbon
*tissue paper (cut into 1 1/2 inch strips)
*embellishments
*glue gun
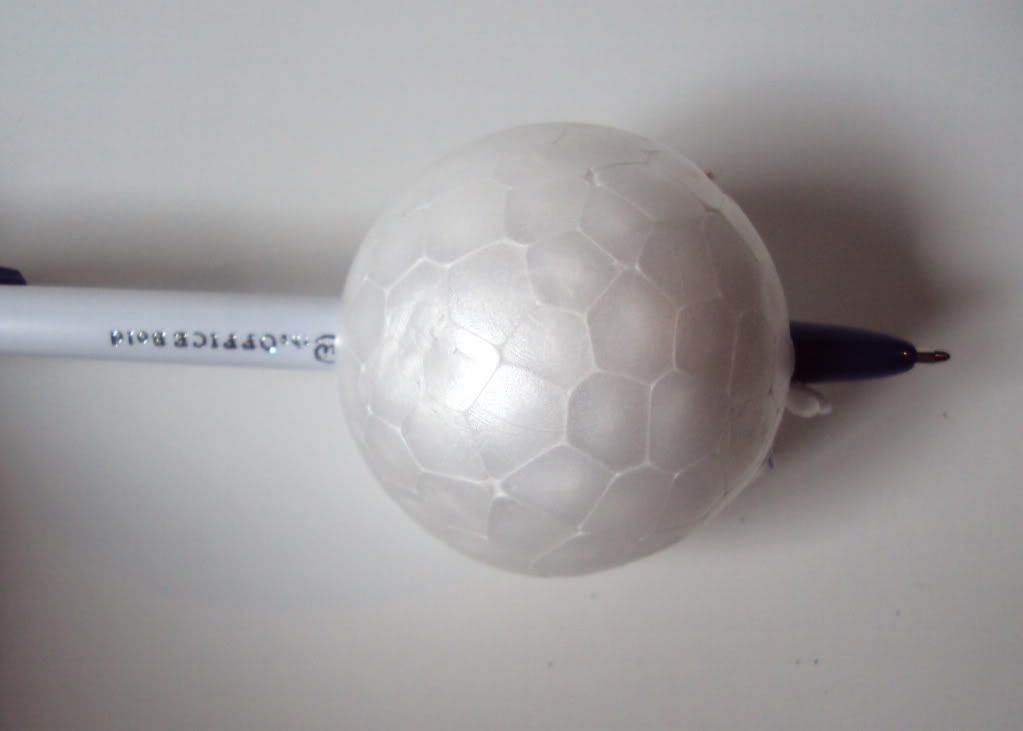
I used a pen to poke a hole through the stryrofoam ball for the ribbon.
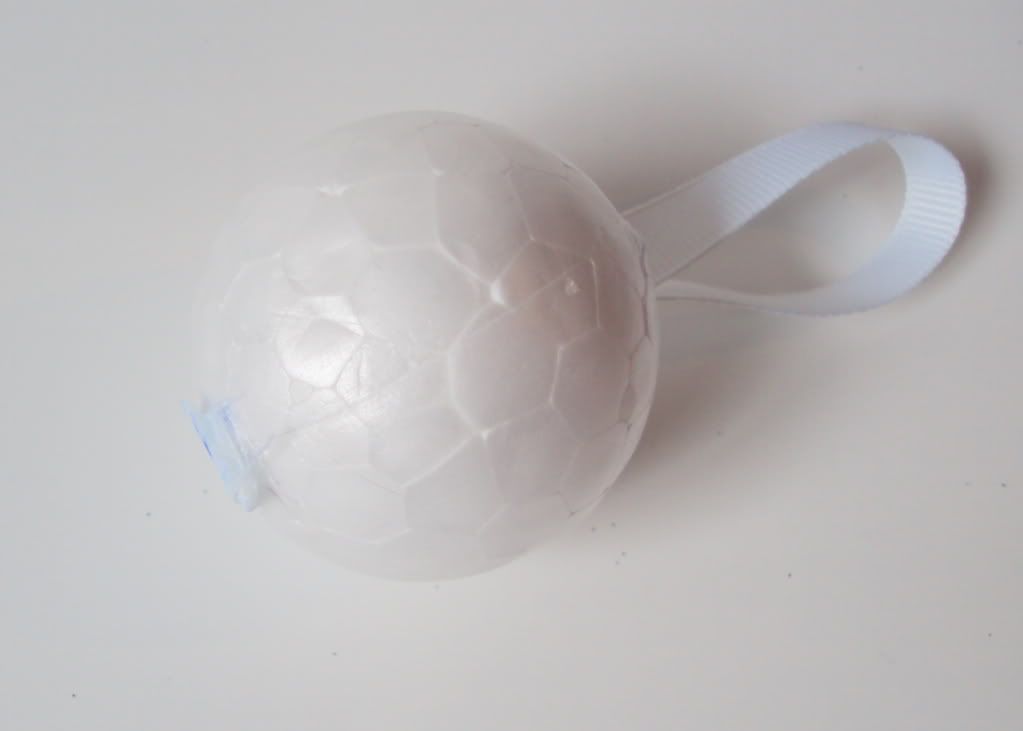
I then used the pen to push the ribbon through the hole. NOTE: Make sure to glue the ribbon to the underside of the ball.
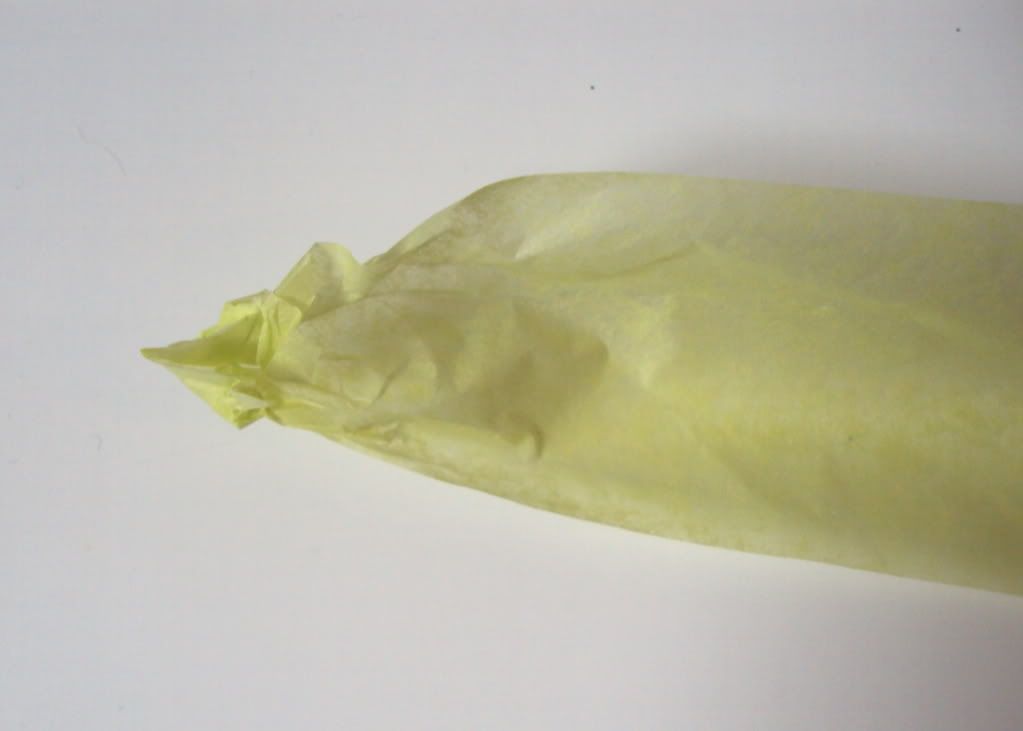
While the glue dried I started to make the tissue paper rosettes.I took one of the strips of tissue paper and crumpled the end.
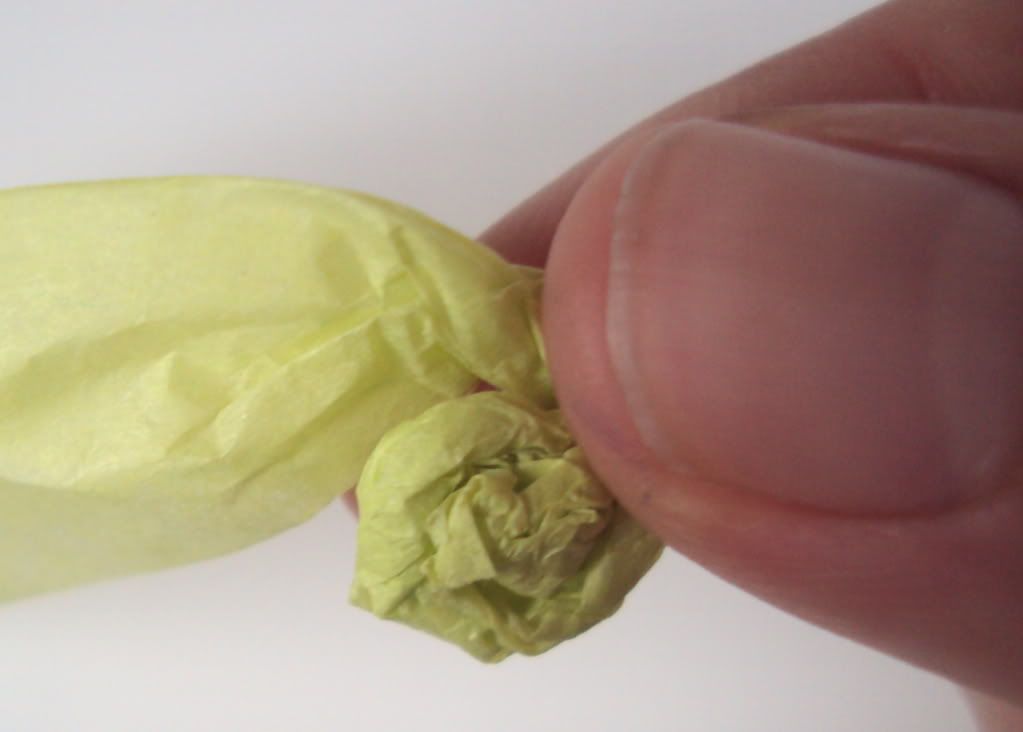
Then I began to twist the tissue paper around the crumpled center. Every so often I made sure to put a dab of hot glue on the rosette so it did not fall a part. As I wound the tissue paper around I would switch between twisting inward and twisting outward. It helped give a different kind of effect to the rosettes.
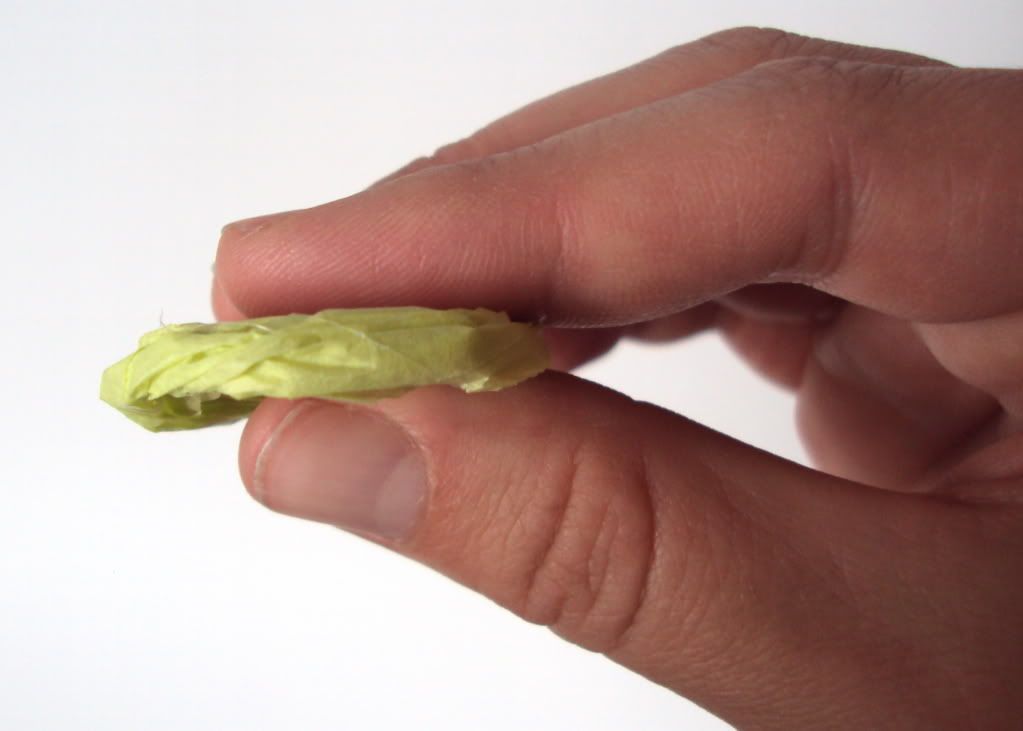
Here is what the rosette looked like when I finished.
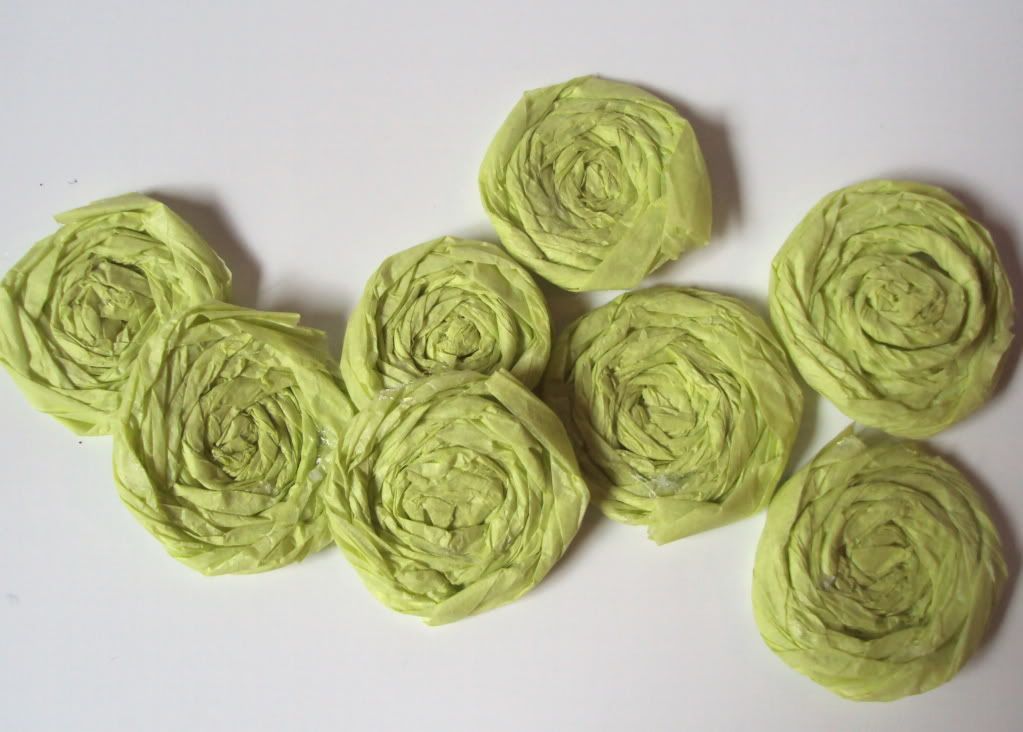
For a small ball I made twelve rosettes--you may use more or less depending on how big or small you make YOURS ;)
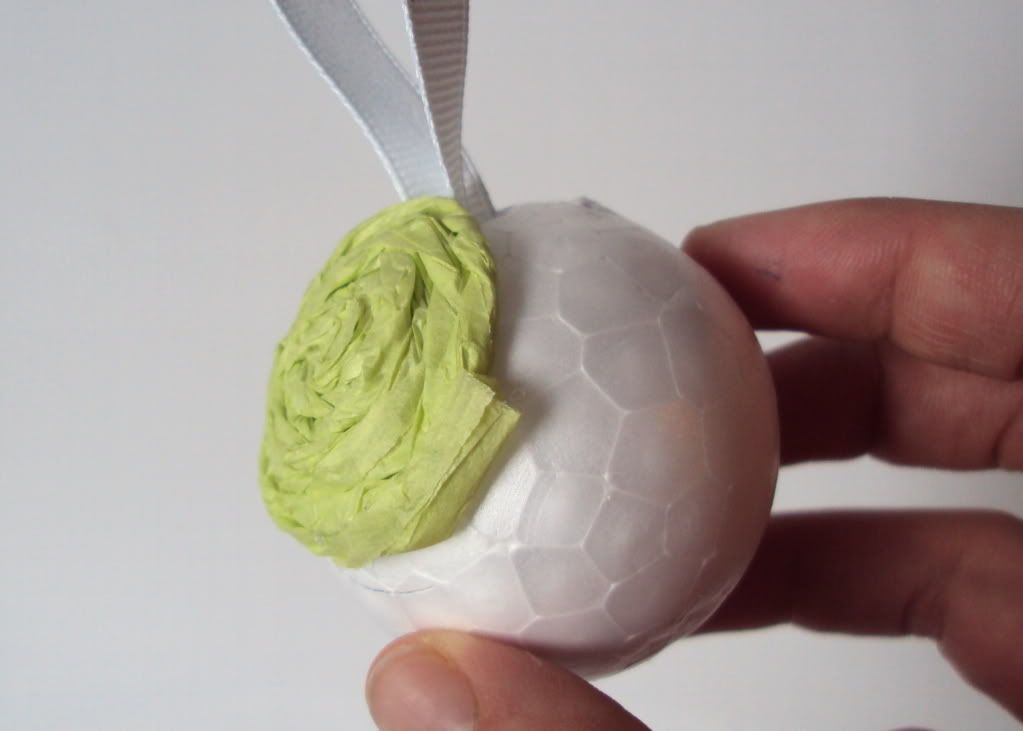
I then took the dried rosettes and started to glue them to the ball. NOTE: You will want to start at the top and work your way down.
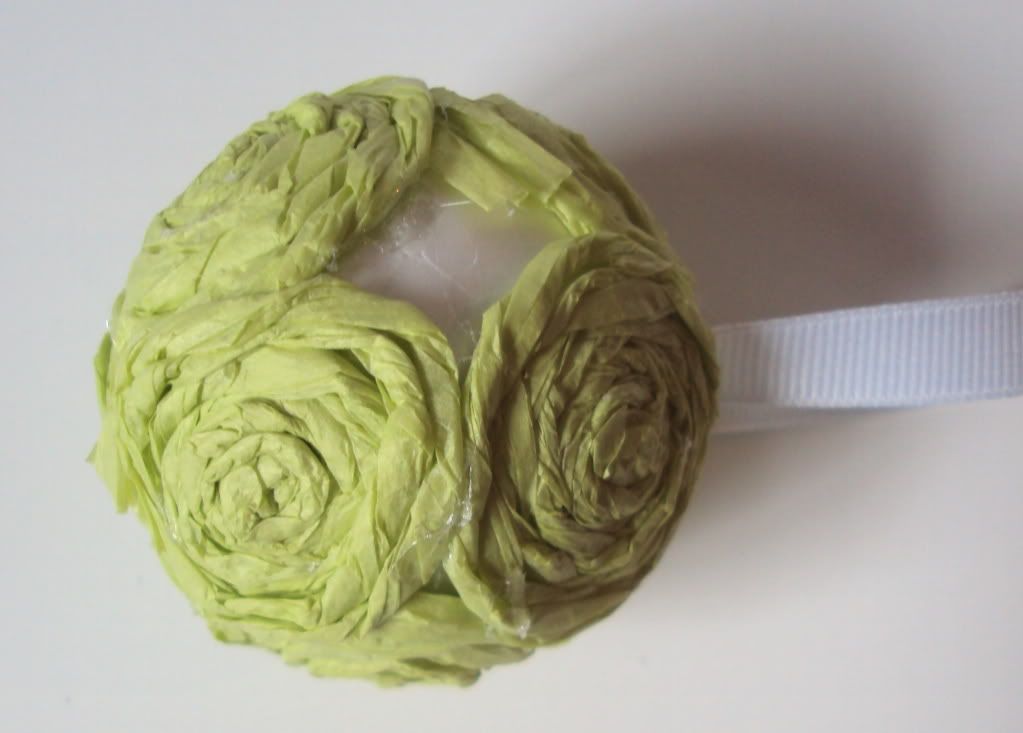
There were gaps in between some of the rosettes so I took scraps of the tissue paper and stuffed them in the open areas.
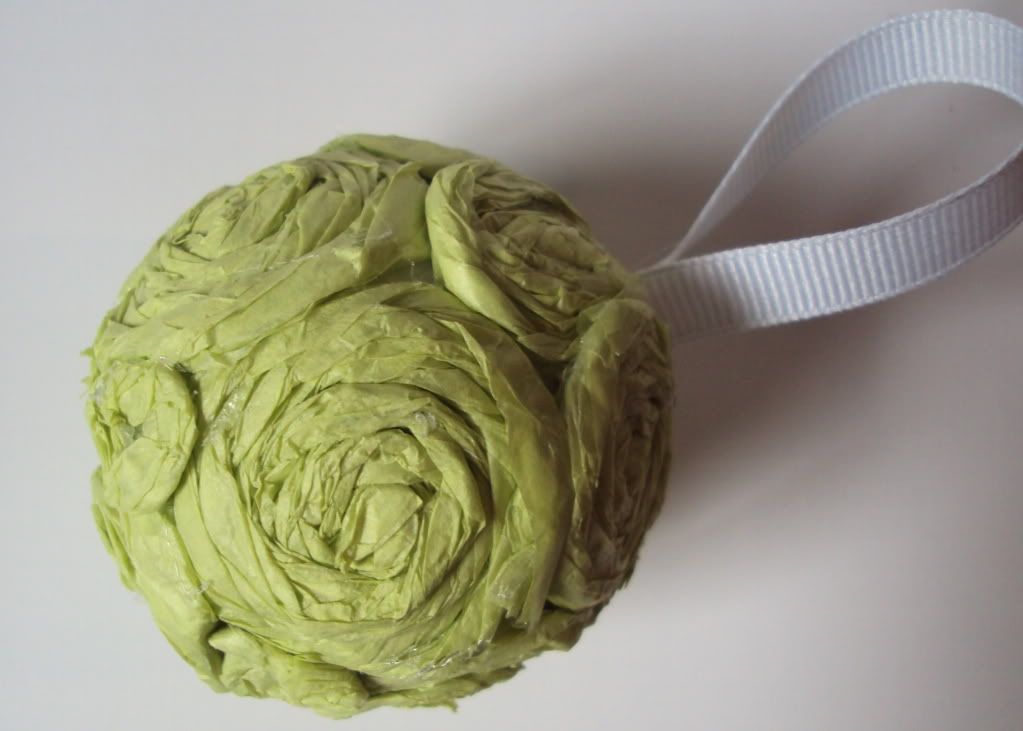
Cool. Huh?
BUT WAIT...I am not going to sell you a Sham-WOW!!! Jokes.
I love shiny things...yes, I am a typical girl. So I decided to spice up my ornaments!

I used a variety of embellishments, any type will work: buttons, brads, pearls, faux gems.
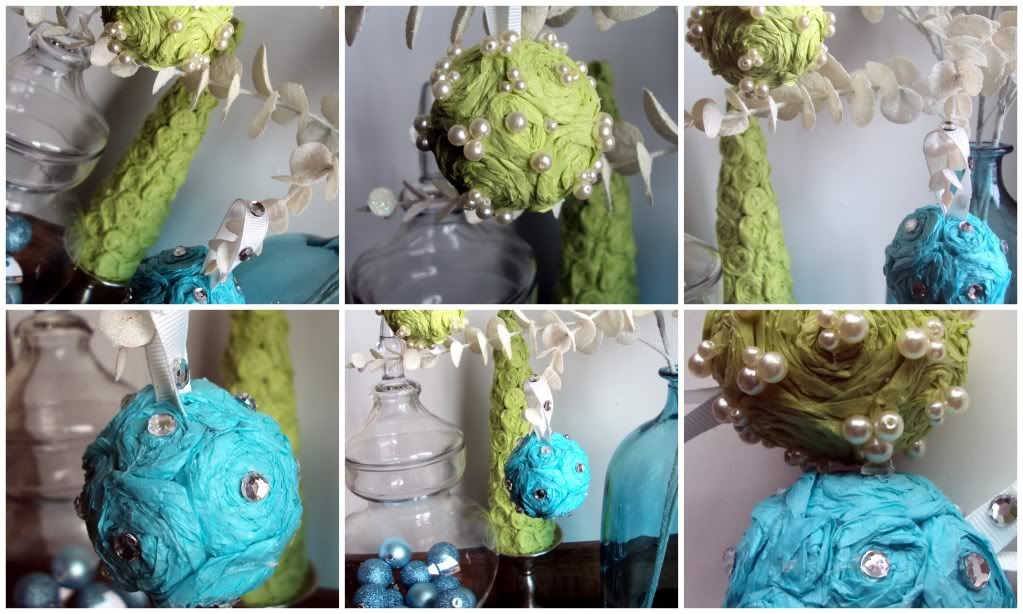
Finished product:
Tissue paper: FREE
Styrofoam balls: S1.00
embellisments: FREE
Style: Rock n' Sock um' awesome!
Hey! Hey! Don't forget to check out the amazing giveaways I have going on right now!
Bugs & Daisies baby booties (ends 12/8)
This Apple Loves Orange flower hair clips (ends 12/14)
Hey! Hey! Don't forget to check out the amazing giveaways I have going on right now!
Bugs & Daisies baby booties (ends 12/8)
This Apple Loves Orange flower hair clips (ends 12/14)


I saw this over at Under the table!!!
ReplyDeleteThese are so amazing!!! I would love it if you linked up to our party!!! I would LOVE to feature you this week!!
=)
http://paperissues.blogspot.com/2010/11/holiday-hook-up.html
Love it!!! I've got some foam balls hanging around here somewhere!
ReplyDeleteThis is so cute! I can't wait to try it! I have tons of tissue paper. I would love for you to link ot my party too! http://polkadotsandpizza.blogspot.com/ and I am a new followe!
ReplyDeleteThis is gorgeous!!!!!
ReplyDeletethese are oh so pretty! Thanks for linking up to Handmade Tuesdays @ ladybug blessings!
ReplyDeletegirlio......your ornaments are DROP DEAD GORGEOUS!! love em!!
ReplyDeleteYou certainly have a knack with tissue paper!
ReplyDeleteI tried the tissue paper Christmas trees and failed miserably!
Hi! I found you on Paper Issues. I love your ornaments! I never thought I could be in love with an ornament, but it's true! I am! And I can't wait to make some for my very own :). Glad to be following you too!!!
ReplyDeleteAnother super cute creation! Love how these match your tree :)
ReplyDeleteOh, they are beautiful. They have something really organic which I love! :)
ReplyDeleteHow cool!!! Just beautiful.
ReplyDeleteThese are gorgeous!
ReplyDeleteI love these!! Thanks for sharing!!
ReplyDeleteI love these and am so glad I now know how to make these rosettes! Thanks so much for sharing :)
ReplyDeletecute cute!!!
ReplyDeleteLove these! So funky and cute! Would love for you to visit me at Sew Chatty and link up to Made with Love Monday! The party will be open until Friday if you want to link up multiple projects. Hope you have a great day! http://sewchatty.blogspot.com
ReplyDeleteAwesome!! Found you through the Paper Issues blog!!
ReplyDeleteThese are just gorgeous!
Thanks for the tutorial :)
Maria
These are so cute. Great use of tissue paper, I would have never thought to make those rosettes with them :)
ReplyDeletepopping by from Sew Can Do!
This is really pretty! And perfect for people like me who can't sew! I am so making these!! Thanks for sharing!
ReplyDeleteSo cute! Love the idea. Had wondered how pomanders I made for a baby shower would look, and now I know. Thanks!
ReplyDeleteOh this is so FUN and do-able. Two adjectives that are always appealing to me. Thanks so much for sharing this awesome idea! I saw it featured on Iheartnaptime.
ReplyDeleteThat's so cute. Adorable! I love this idea! Great job.
ReplyDeleteLove this idea! :) Thanks for sharing!
ReplyDelete